elasticsearch 스냅샷 내보내기 & 가져오기
우선 버전 일치 해주는걸 권장.
그래서 우선 내보내는 곳(서버) elasticsearch 버전확인
CURL -XGET 'localhost:9200'
|
os |
ubuntu 18.x / mac |
|
7.0.0 |
|
|
{ "name" : "mrdoochiel.cafe24.com", "cluster_name" : "elasticsearch", "cluster_uuid" : "NbgIm8b4SA2G0ziZx8qFIQ", "version" : { "number" : "7.0.0-alpha2", "build_flavor" : "default", "build_type" : "deb", "build_hash" : "a30e8c2", "build_date" : "2018-12-17T12:33:32.311168Z", "build_snapshot" : false, "lucene_version" : "8.0.0", "minimum_wire_compatibility_version" : "6.6.0", "minimum_index_compatibility_version" : "6.0.0-beta1" }, "tagline" : "You Know, for Search" } |
|
|
etc python관련 사항 |
두개를 추가 설치해야 사용 가능합니다 |
elasticsearch 내보내기
1. /etc/elasticsearch 등 elasticsearch.yml 이라는 설정 파일 열기
2. 맨 아래에 백업파일 저장될 경로 지정해주고 저장. ( path.repo = ["home/el-backup"] )
3. elasticsearch 재부팅
백업파일 저장될 경로에 elasticsearch 권한주기
$ chown -R elasticsearch:elasticsearch ./
elasticsearch 내보내기
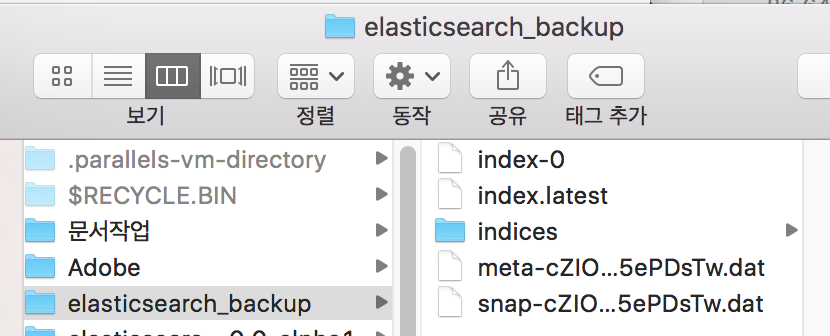
'/home/elasticsearch_backup'이라는 폴더에
가상 'my_backup' 라는 리포지토리 만들기(만듦과 동시에 저장을 함)
# curl 문법
curl -XPUT 'localhost:9200/_snapshot/my_backup/' -d '{"type":"fs","settings":{"compress":true,"location":"/home/elasticsearch_backup"}}' -H 'Content-Type: application/json'
pretty(예쁘게) 모드로 보면
아래와 같음
curl -xPUT 'localhost:9200/_snapshot/my_backup?pretty' -H 'Content-Type:
application/json' -d '{
"type": "fs",
"settings": {
"location": "/home/elasticsearch-backup"
}
}'
# 생성 잘됐는지 확인
curl -GET 'localhost:9200/_snapshot/my_backup/'

# 현재 저장되어있는 인덱스 목록을 우선 확인해두기
curl -GET 'localhost:9200/_cat/indices/?pretty'

# 스냅샷 만들기
-> my_backup이란 가상 리포지토리에 snap이라는 버전을 하나 생성해
-> indices ( index ) 를 저장 하겠다. 라는 뜻
PUT /_snapshot/my_backup/snap?wait_for_completion=true
{
"indices": "manysong_1_t",
"ignore_unavailable": true,
"include_global_state": true
}
curl -XPUT 'localhost:9200/_snapshot/my_backup/snap?wait_for_completion=true' -d '{"indices":"complete_test01,screenshot_test01,victolee,test01,addinfo_test01","ignore_unavailable":true,"include_global_state":true}' -H 'Content-Type: application/json'

# 넣을 파일 압축(선택사항)
tar -czvf snapshot.tar.gz ./elasticsearch_backup
tar -czvf {압축 파일명}.tar.gz {압축할 파일1} {압축할 파일2}...
elasticsearch 데이터 로컬로 가져오기
# 저장할 곳의 elasticsearch.yml 설정파일 열기.
# 맨 아래에 아래와 같이 백업 파일들 저장될 경로 입력.
path.repo: ["/Users/(...)/Documents/elasticsearch_backup"]
# 그리고 elasticsearch 재부팅 해서 스냅샷 물리 저장소 생성해주기
# 물리 저장소 넣기 전 my_backup이라는 이름으로 가상 저장소 만들어두기
curl -XPUT 'localhost:9200/_snapshot/my_backup/' -d '{"type":"fs","settings":{"compress":true,"location":"/Users/innonext/Documents/elasticsearch_backup"}}' -H 'Content-Type: application/json'
# 압축파일 풀어서 물리저장소에 붙여 넣기
tar xzvf snapshot.tar.gz (푸는방법 )
# 인식 하는지 확인
-> 기본적으로 내보내는 곳 elasticsearch와 받아들이는 곳 elasticsearch 버전이 맞아야 인식함.
-> 데이터 깨지는 것도 같은 원리일 가능성이 높음.
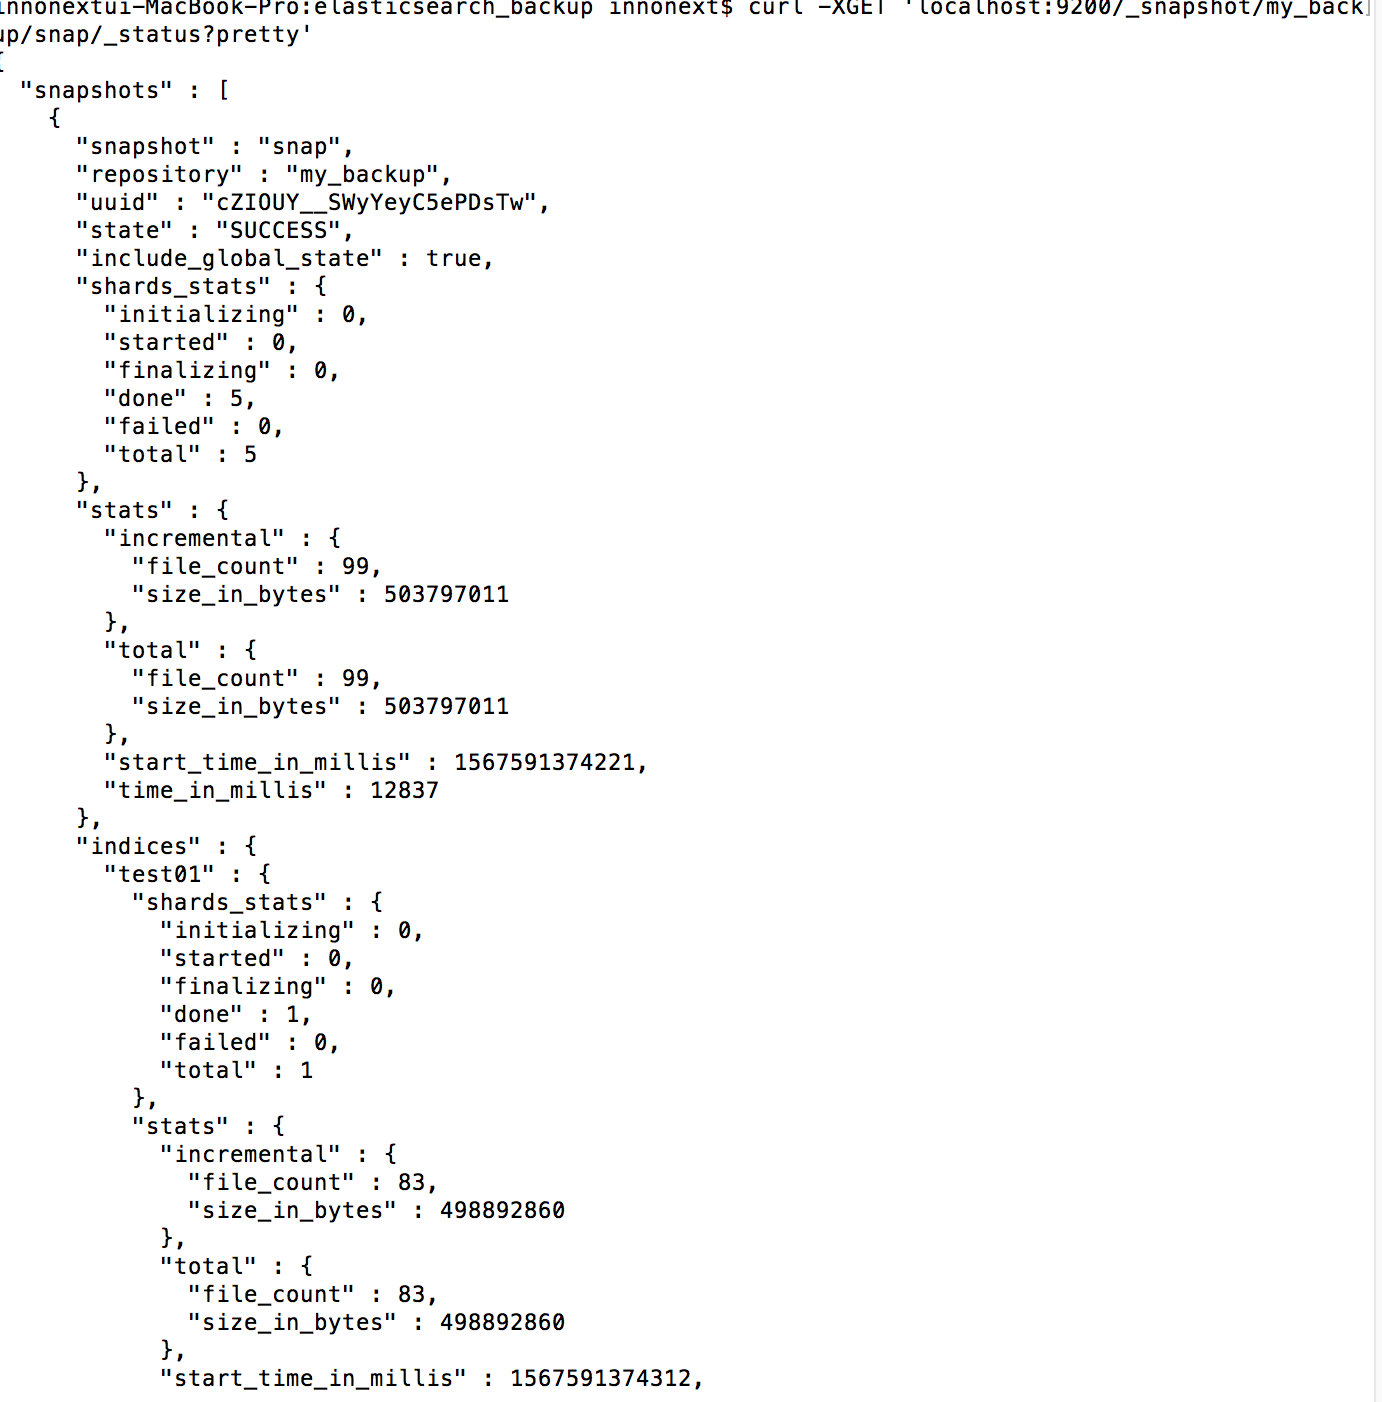
curl -XGET 'localhost:9200/_snapshot/my_backup/snap/_status'
# 저장
curl -XPOST 'localhost:9200/_snapshot/my_backup/snap/_restore' -d '{"indices":"test01, addinfo_test01,complete_test01,victolee,screenshot_test01","index_settings":{"index.number_of_relicas":0},"ignore_index_settings":["index.refresh_interval"]}' -H 'Content-Type: application/json'
<만약 503 오류가 난다면 index 삭제 후 키바나 가서 아래 절차대로>
< 일반 인덱스 확인 구문 >
통해서 index들 확인
GET /_cat/indices
curl -XGET 'localhost:9200/_cat/indices?pretty'
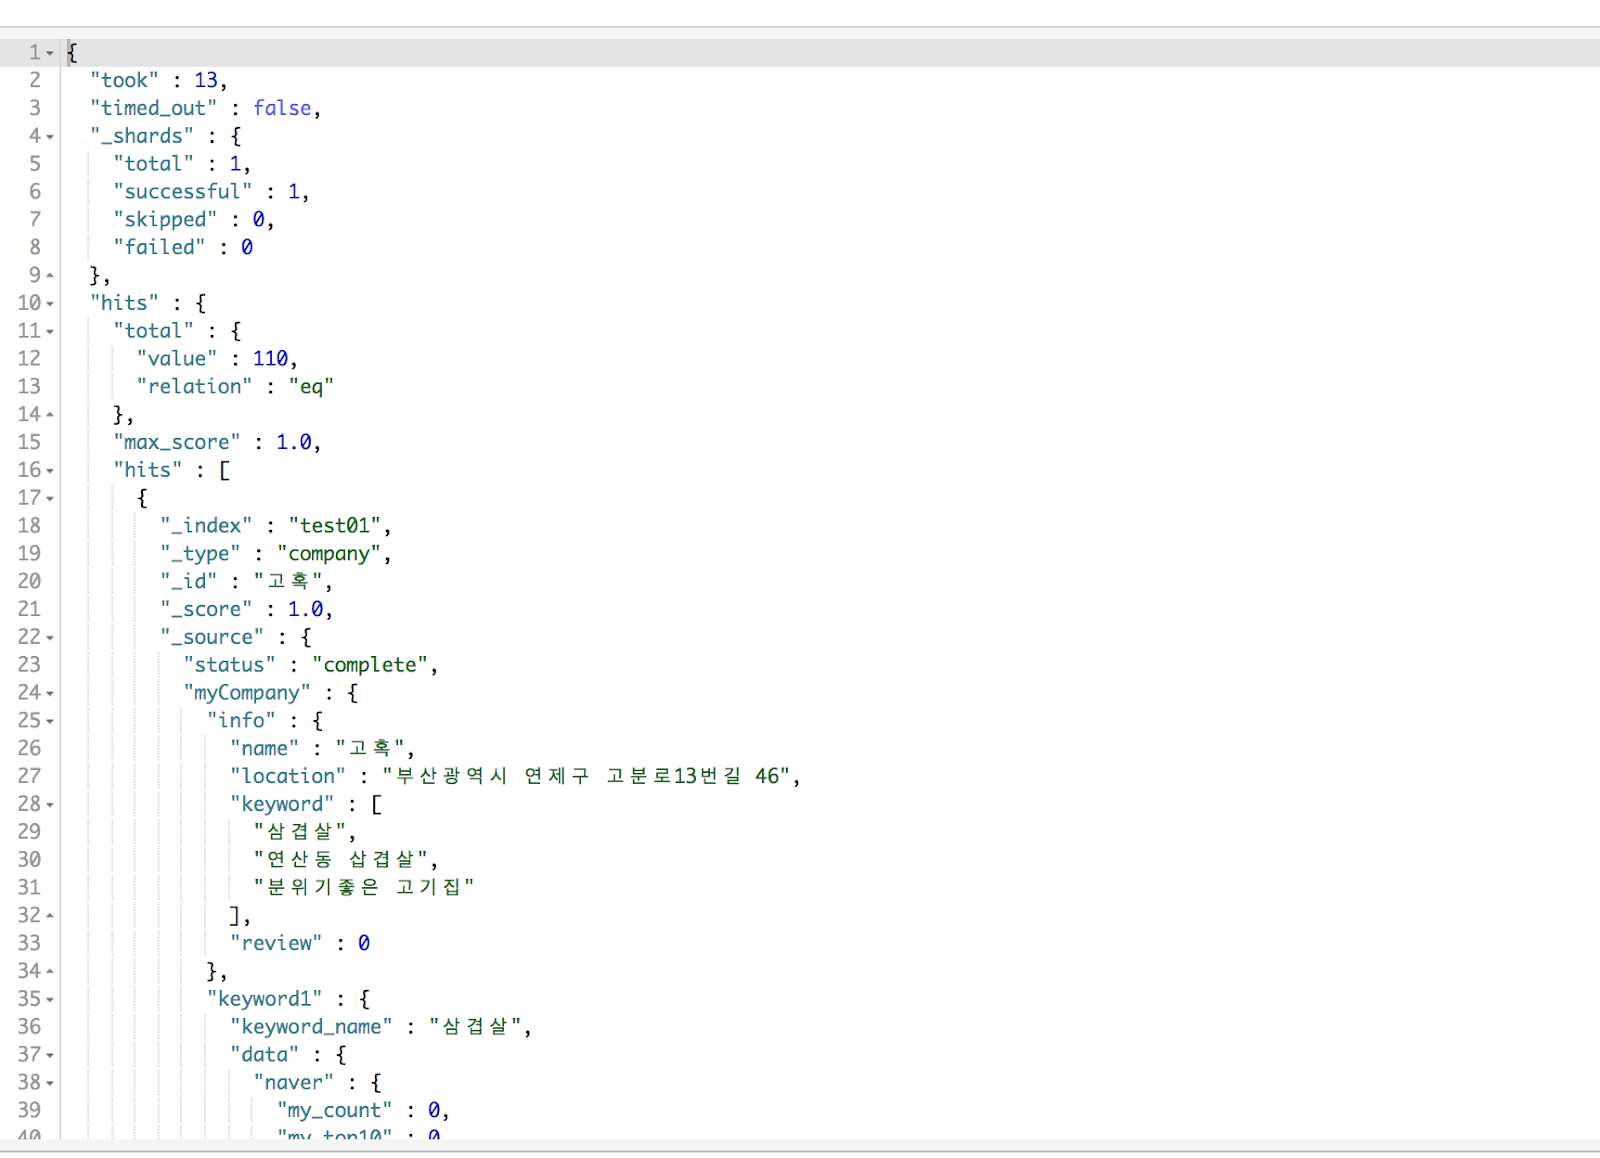
GET addinfo_test01/_search
GET test01/_search
→ 503 search_phase_execution_exception ... 에러 나타남을 확인
< 일반 삭제 구문 통해서 먼저 만든것들 삭제하기 >
( 안만들었으면 이부분 생략해도 됨 )
DELETE test01
DELETE addinfo_test01
DELETE complete_test01
DELETE victolee
DELETE screenshot_test01
* 키바나용 쿼리
< 저장소에 저장된 인덱스 정보 >
GET /_snapshot/my_backup/snap/_status
< 저장소에 있는 인덱스 restore (복구) = 하나씩 해야 정확해서 >
POST /_snapshot/my_backup/snap/_restore
{
"indices":"test01",
"ignore_unavailable": true,
"include_global_state": true
}
POST /_snapshot/my_backup/snap/_restore
{
"indices":"addinfo_test01",
"ignore_unavailable": true,
"include_global_state": true
}
POST /_snapshot/my_backup/snap/_restore
{
"indices":"complete_test01",
"ignore_unavailable": true,
"include_global_state": true
}
POST /_snapshot/my_backup/snap/_restore
{
"indices":"victolee",
"ignore_unavailable": true,
"include_global_state": true
}
POST /_snapshot/my_backup/snap/_restore
{
"indices":"screenshot_test01",
"ignore_unavailable": true,
"include_global_state": true
}
<만약 503 오류나면 아래 구문 추가 입력 해주기>
PUT /test01/_settings
{
"index" : {
"number_of_replicas" : 0
}
}
PUT /addinfo_test01/_settings
{
"index" : {
"number_of_replicas" : 0
}
}
PUT /complete_test01/_settings
{
"index" : {
"number_of_replicas" : 0
}
}
PUT /victolee/_settings
{
"index" : {
"number_of_replicas" : 0
}
}
PUT /screenshot_test01/_settings
{
"index" : {
"number_of_replicas" : 0
}
}
<다시 확인>
GET addinfo_test01/_search
GET test01/_search
안나타나는걸 볼 수 있음
'개발일기 > Sql(mysql, maria 등)' 카테고리의 다른 글
| window10/11에서 elasitcsearch + kibana + logstash 설치하기 (0) | 2022.08.02 |
|---|---|
| [MySql/CRUD/query] 최근 자주 사용하는 SELECT, 개수 SELECT, UPDATE, JOIN UPDATE 구문 (0) | 2021.12.23 |
| elasticsearch 스냅샷 만들고 내보내기, 가져오기 (0) | 2019.08.30 |
| AWS Elasticsearch Service S3만들어서 수동 스냅샷(snapshot) 저장소(repository) 설정 하는 방법 (0) | 2019.07.06 |
| mamp 5.2 phpmyadmin import 안될 때 (0) | 2019.01.31 |


